

Getting Started
1. Access the Dashboard
- Log in to your account at dashboard.cekura.ai
- Navigate to the Personalities section from the sidebar menu
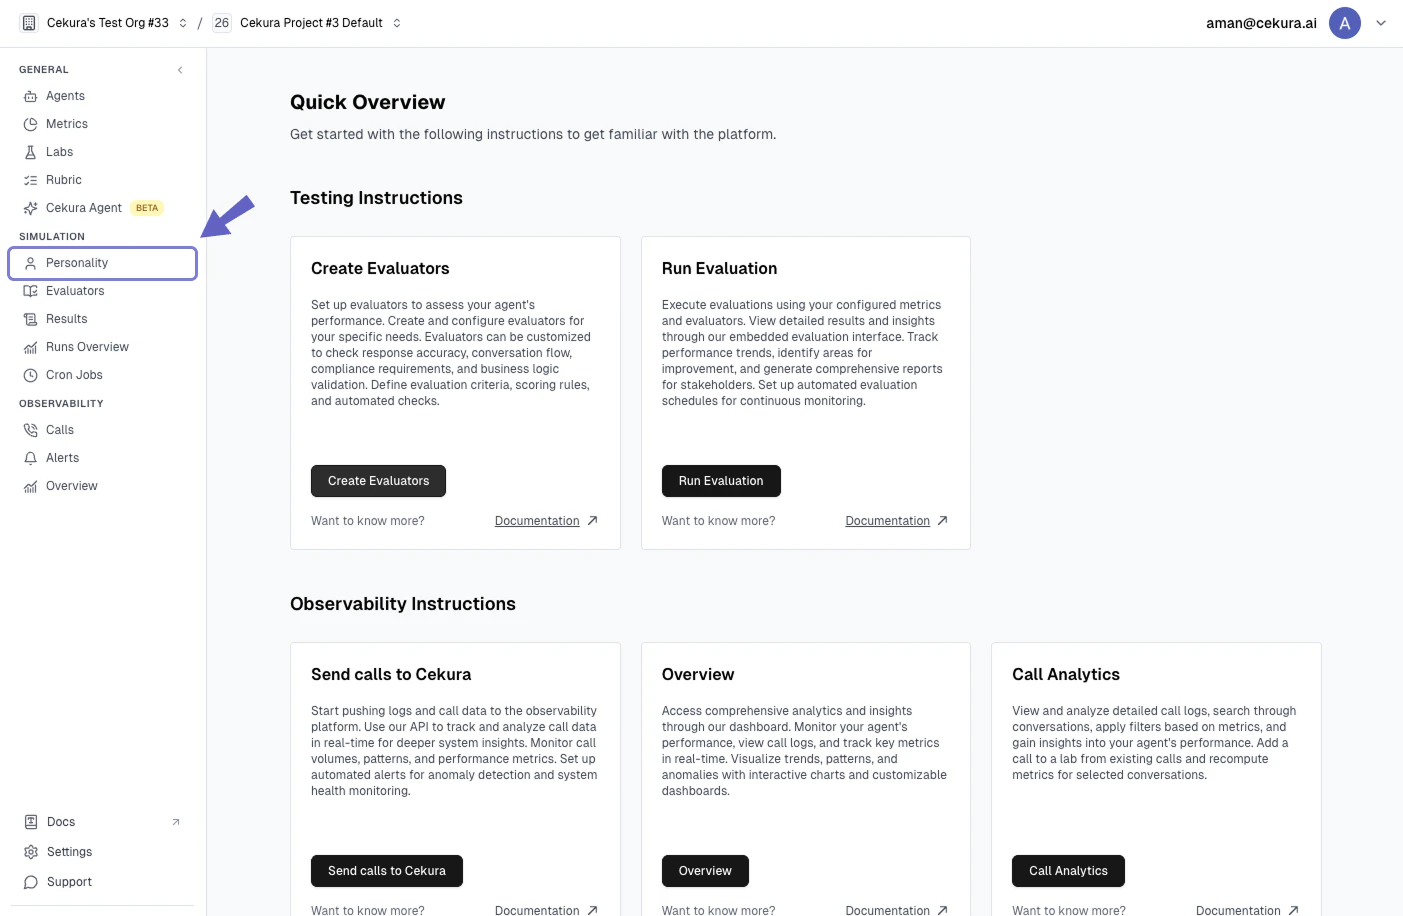
2. Creating a New Personality
You have three options for setting up personalities:- Use Pre-defined Personalities: Choose from Cekura’s curated collection of optimized personalities
- Fork a Pre-defined Personality: Copy one into your project and change only what you need — everything else is inherited
- Create Custom Personality: Design a completely new personality from scratch
Pre-defined personalities are shared across all workspaces, so they cannot be edited directly. Fork one when you want to keep its voice and accent but change its behavior — for example to raise the idle timeout. Forking is also the quickest route to a custom personality, since you don’t have to re-pick the voice settings.
To create a custom personality:
1. Click the “Create Personality” button in the Personalities section
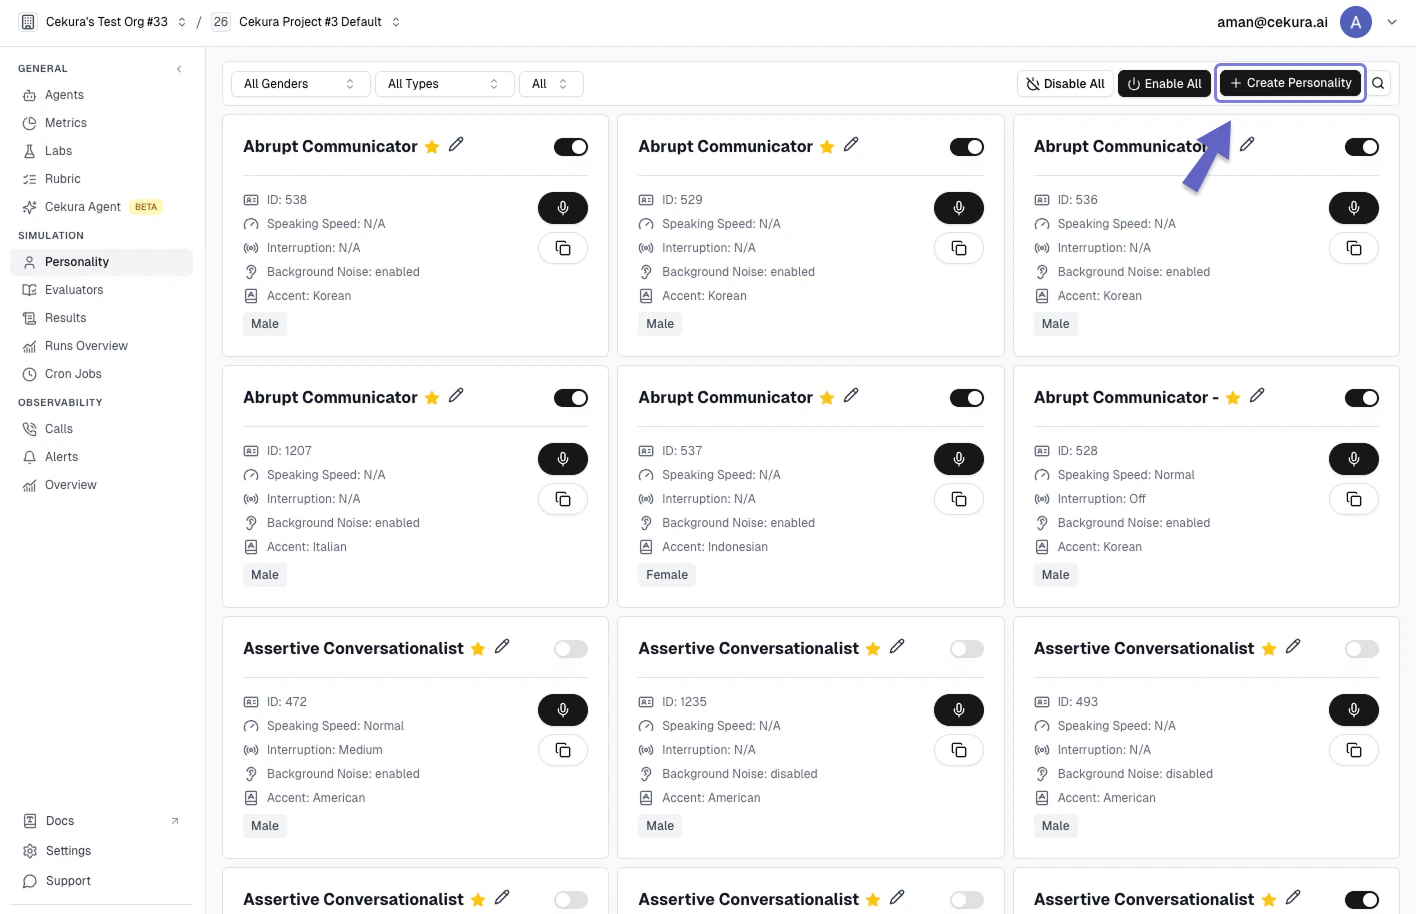
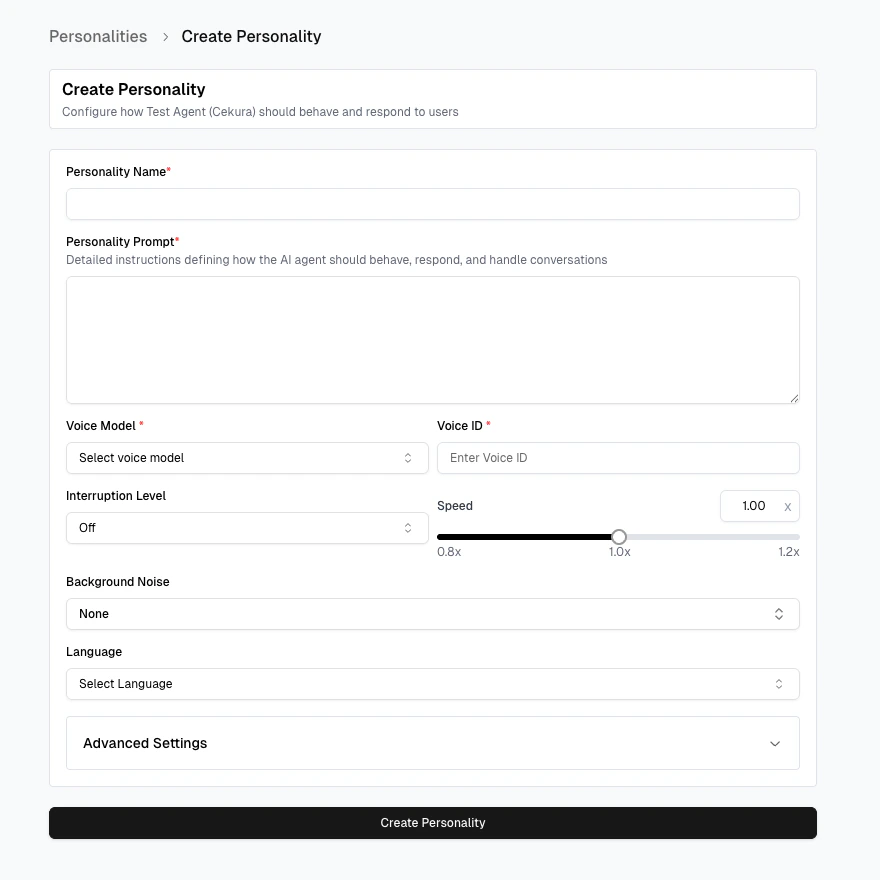
2. Fill in the following required fields:
Basic Information
- Personality Name: Give your personality a unique, descriptive name
- Personality Description: Briefly describe the personality’s purpose and characteristics
Behavior Configuration
- Personality Prompt: Define detailed instructions for how the AI should behave and respond
- Temperature: Set the creativity level (default: 0.7)
- Model: Choose the AI model that powers your personality
Voice Settings
- Background Noise: Control background noise during conversations. The dropdown offers several options including built-in noise presets and a Custom URL option — select “Custom URL” and enter a direct link to an audio file (e.g.,
https://<your-domain>/background.mp3) to play any sound file as background noise during the simulation. - Voice ID: Select a unique voice identifier
- Voice Provider: Choose your preferred voice service provider
Advanced settings
Open the Advanced Settings section of the personality form for these. They control how the testing agent behaves during a call, and cannot be set from an evaluator — instructions and expected outcomes only control what the testing agent says, so anything in this section has to be configured here.
Both idle fields must be set together, and both must be 1 or greater — the idle prompt can be pushed out but not switched off entirely.
Updating a personality over the API
The same fields are available programmatically:- Fork Personality — copy a personality into one of your projects
- Update Personality — change any setting on a personality your organization owns, including a fork you just made
Update the fork with a longer idle timeout
Next Steps
After creating your personality, you can:- Assign it to specific agents
- Test interactions
- Monitor performance
- Make adjustments as needed