Advanced Features of Metric Lab
Metric Lab is for refining and improving metric definitions — you annotate a sample of calls with the correct expected values, then use Auto Improve to tighten the metric prompt based on those annotations. If you need to run automated per-call comparisons between a Cekura metric score and a manually supplied ground-truth value across all your calls, write a Python metric that accesses other metric results instead. See Can I compare Cekura metric results against my own manual or ground-truth scores? in the FAQ.
Metric Optimization Workflow
Metric Lab provides a powerful workflow for defining, testing, and automatically optimizing custom metrics to ensure they accurately reflect your AI assistant’s performance.Defining Custom Metrics
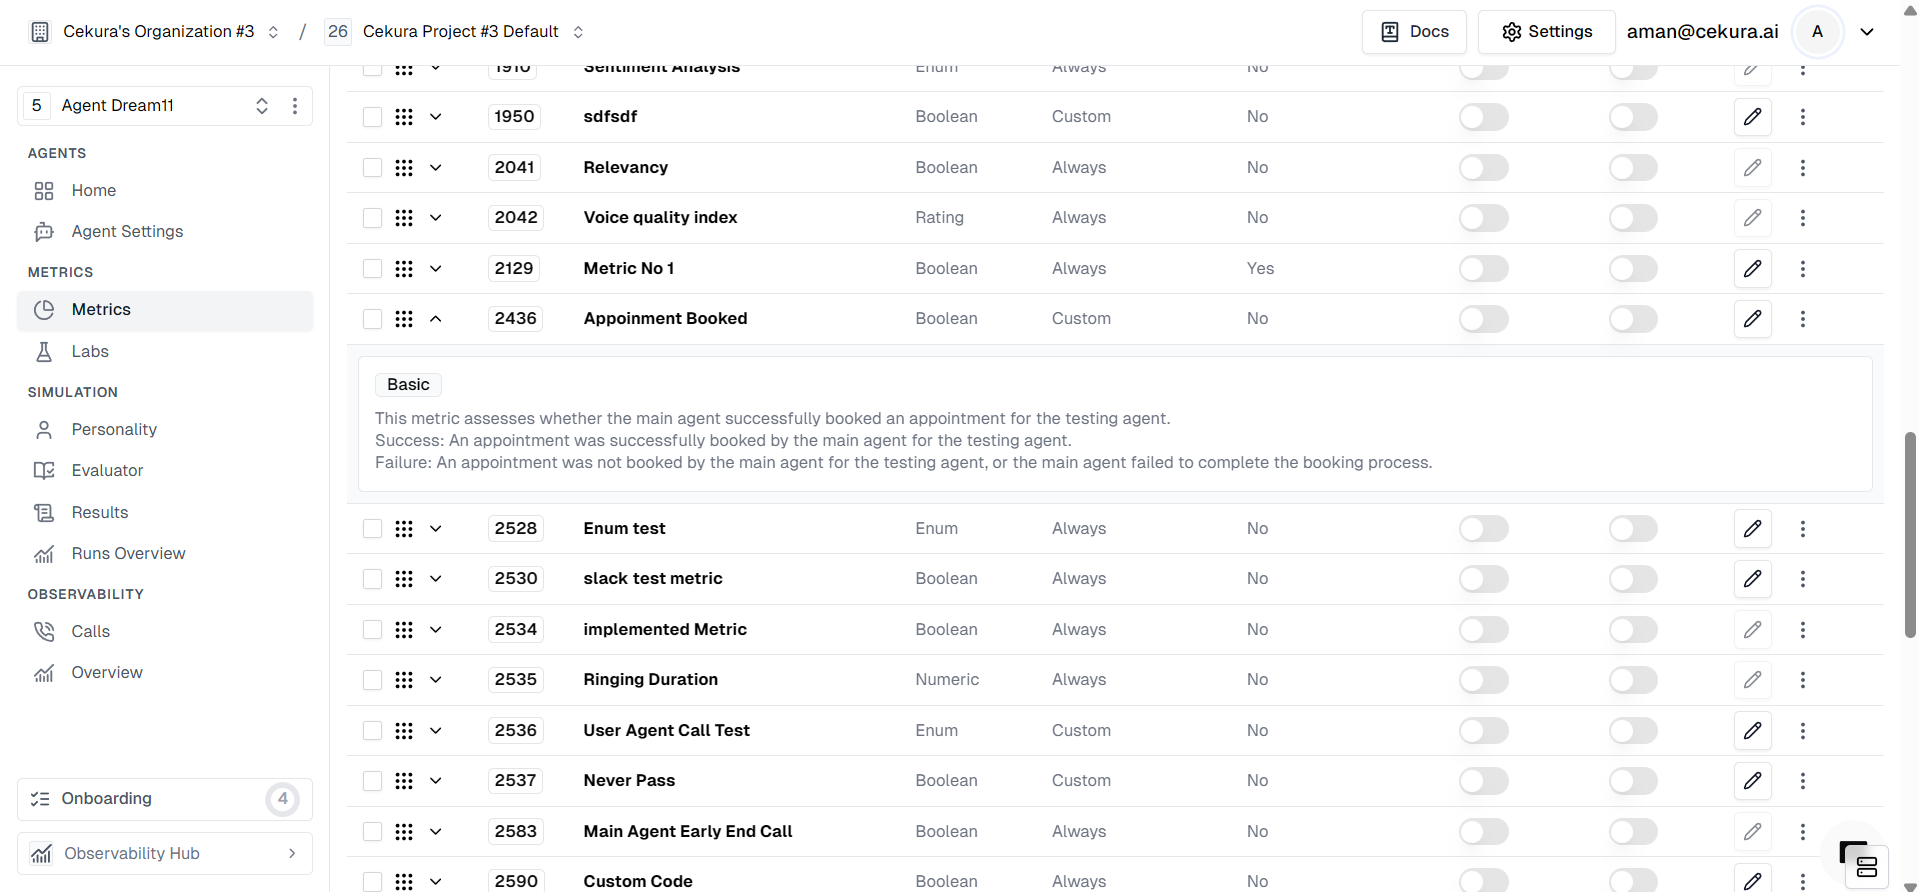
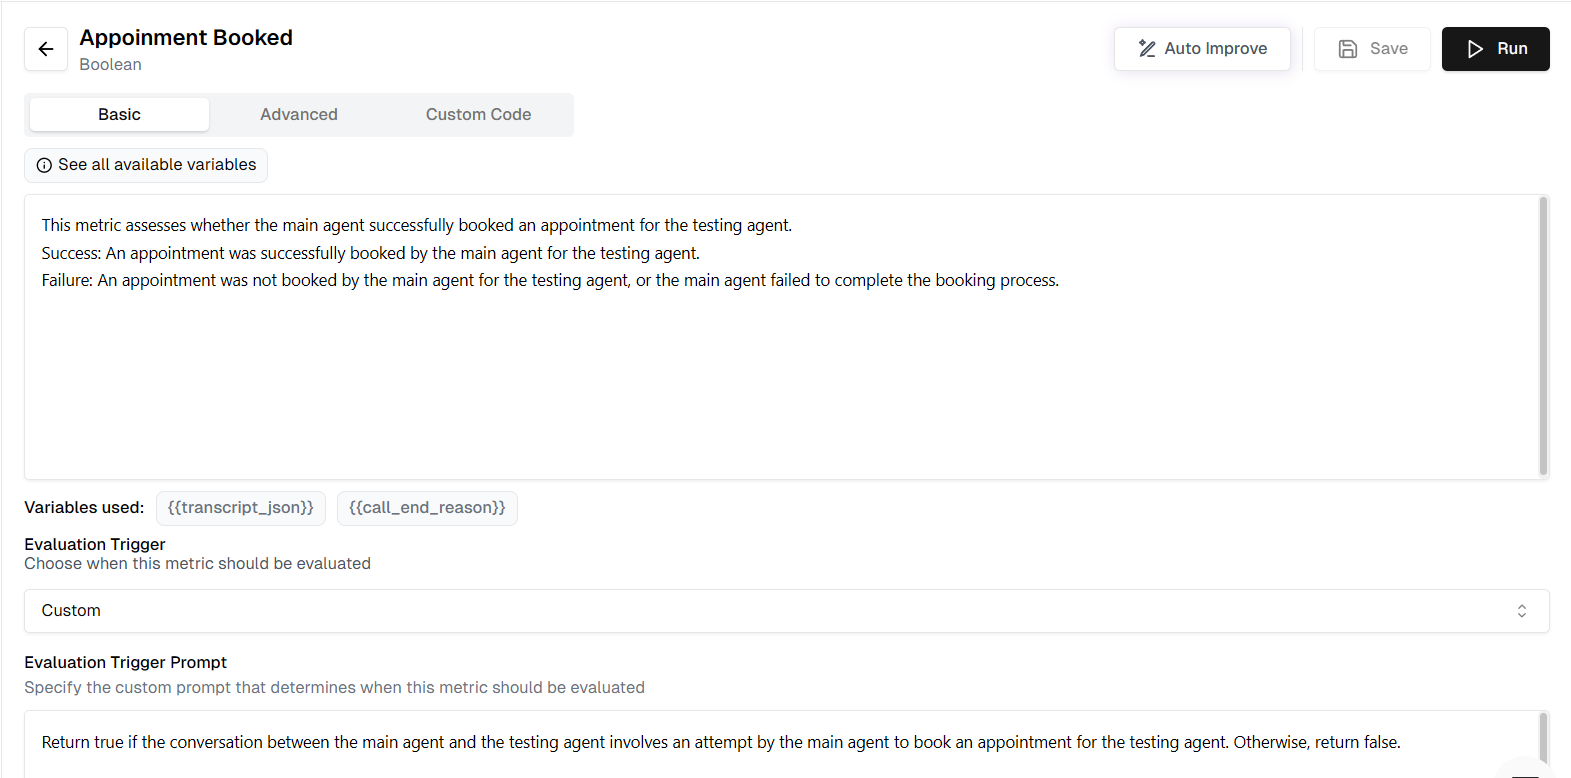
First, define a custom metric tailored to your specific business logic. In this example, we will create a metric to verify appointment bookings.- Metric Name: Appointment Booked
- Definition: Assesses whether the main agent successfully booked an appointment for the testing agent.
- Success Criteria: An appointment was successfully booked.
- Failure Criteria: No appointment was booked, or the process was incomplete.
Identifying Metric Performance Issues
After your agent runs, you might notice discrepancies where the metric result doesn’t match reality.- False Positive: The metric says “Appointment Booked” (Success), but the agent actually failed to confirm the time.
- False Negative: The metric says “Not Booked” (Failure), even though the agent successfully completed the booking.
Add to Labs
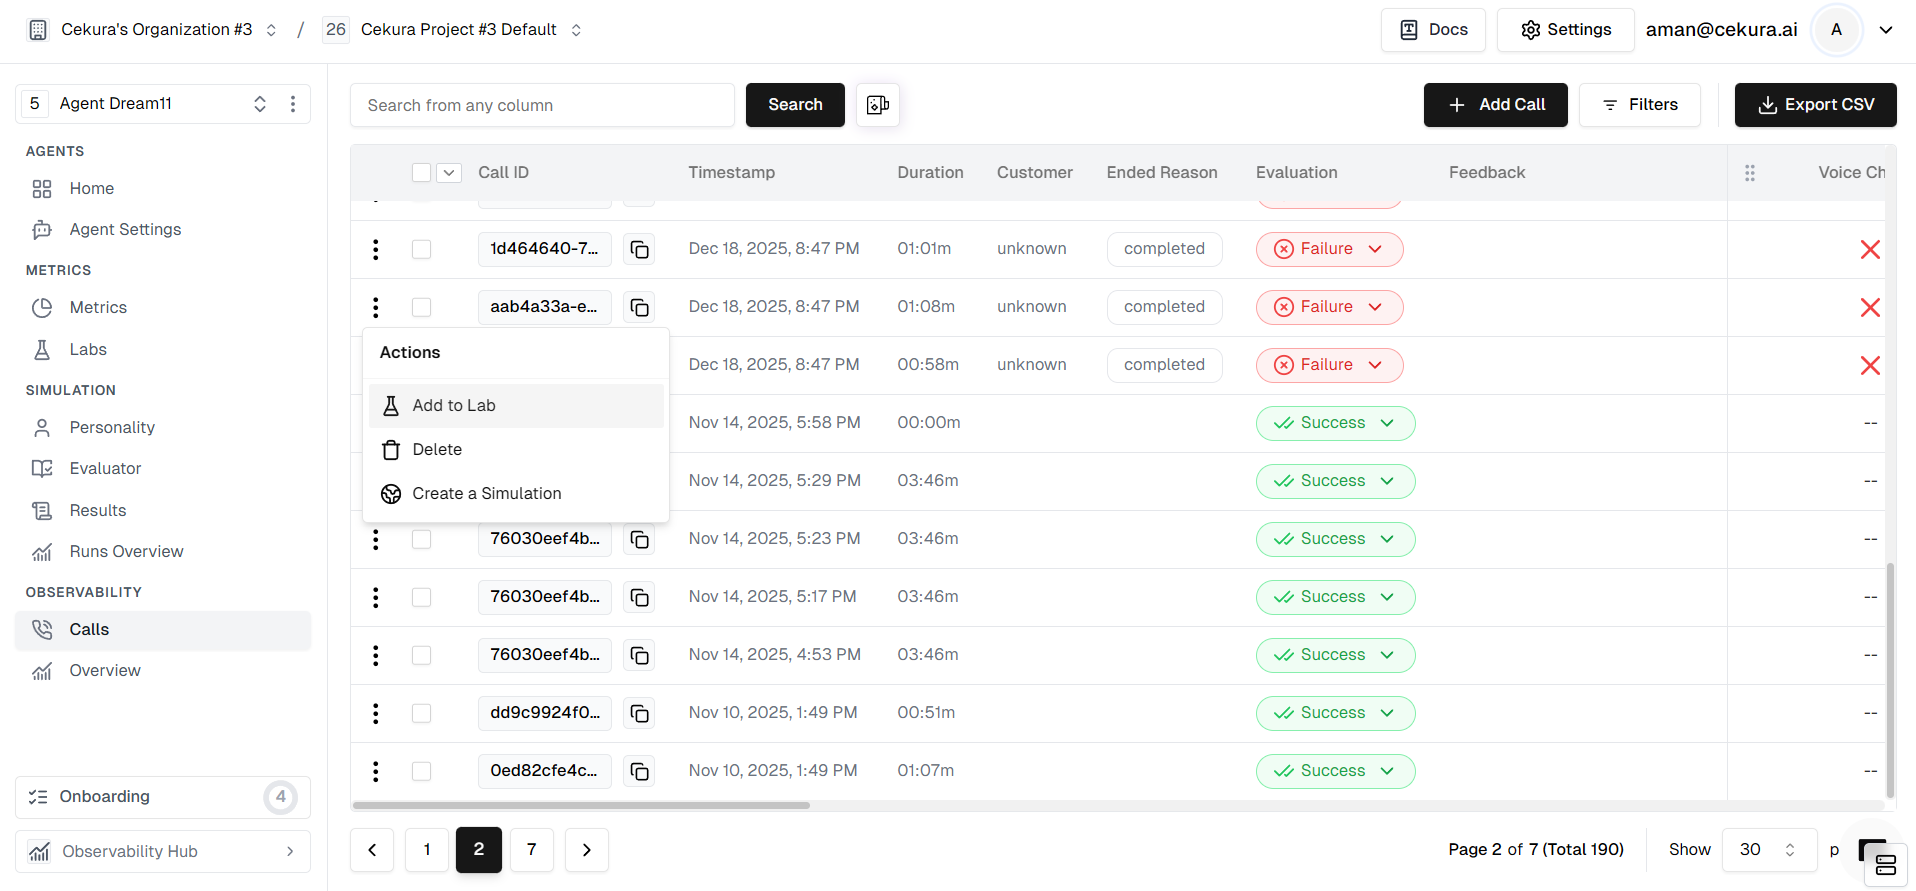
To fix these issues, you need to create a test set from these problematic calls.- Locate the specific calls in your logs where the metric failed.
- Select them and click Add to Lab.
- Assign them to the “Appointment Booked” metric lab.
Initial Run
Once inside the Lab, run your current metric against the newly added test set to establish a baseline.- Click the Run button in the Metric Lab.
- The system will evaluate the “Appointment Booked” metric against all the calls in your test set.
- Review the Overall Score (e.g., 3/5) to see the current accuracy.
Annotate
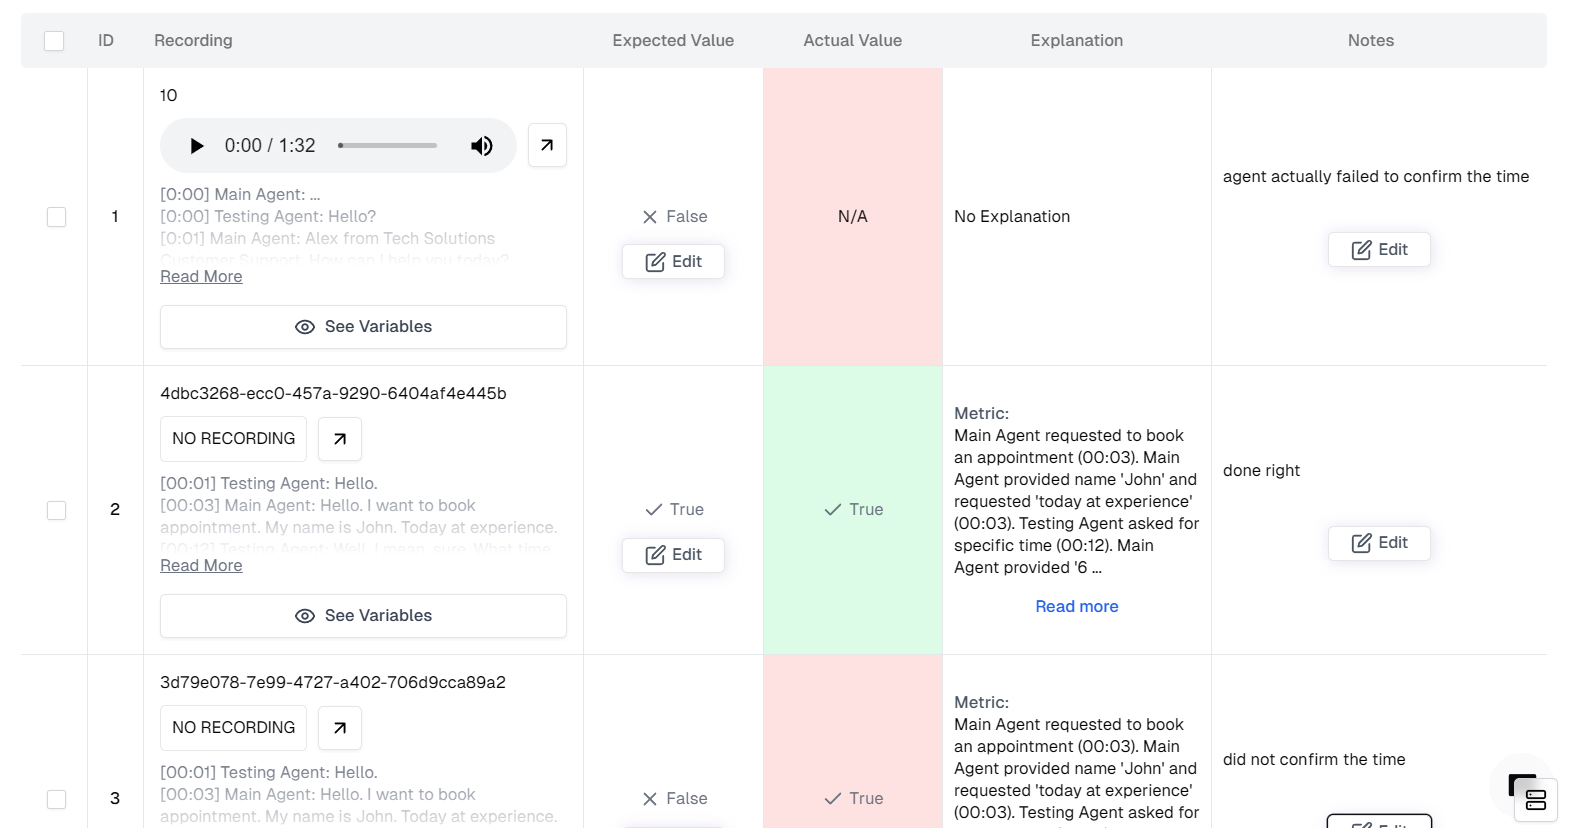
This is the most critical step. You must tell the system what the correct result should have been for each failed call.- Scroll down to the Table View.
- Look for rows where Actual Value (what the metric thought) differs from what really happened.
- Update Expected Value: Change the expected status to the correct one (e.g., change “False” to “True” if it was actually booked).
- Add Notes: Click the feedback/notes icon and explain why the metric was wrong (e.g., “The user implicitly confirmed the time by saying ‘Sounds good’, so this should count as a booking”).
Auto Improve
Instead of rewriting the prompt manually, let the Metric Lab’s optimizer do the work for you.- Ensure you have annotated the mismatches and added notes.
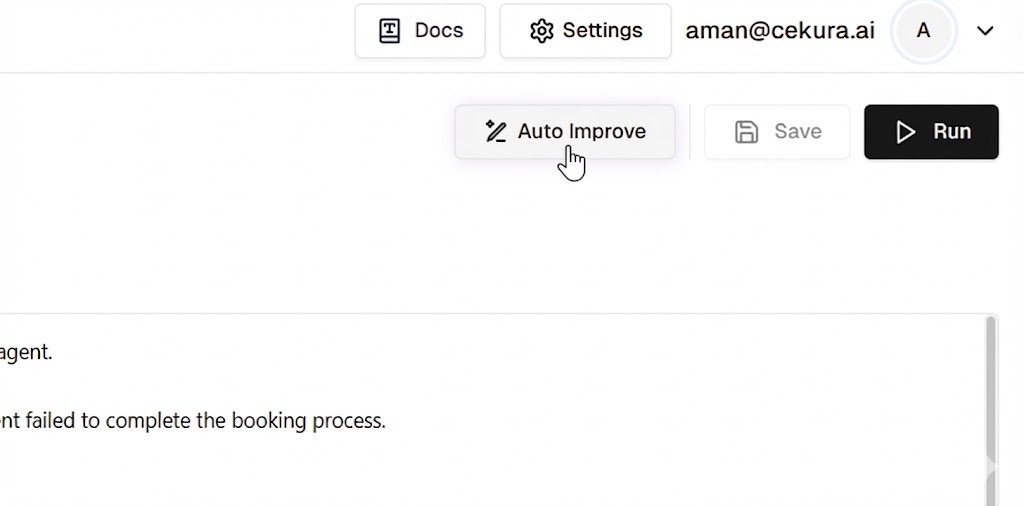
- Click the Auto Improve button at the top right.
- The system will analyze the transcripts, your notes, and the expected outcomes to generate a better metric definition.
View, Analyze and Save
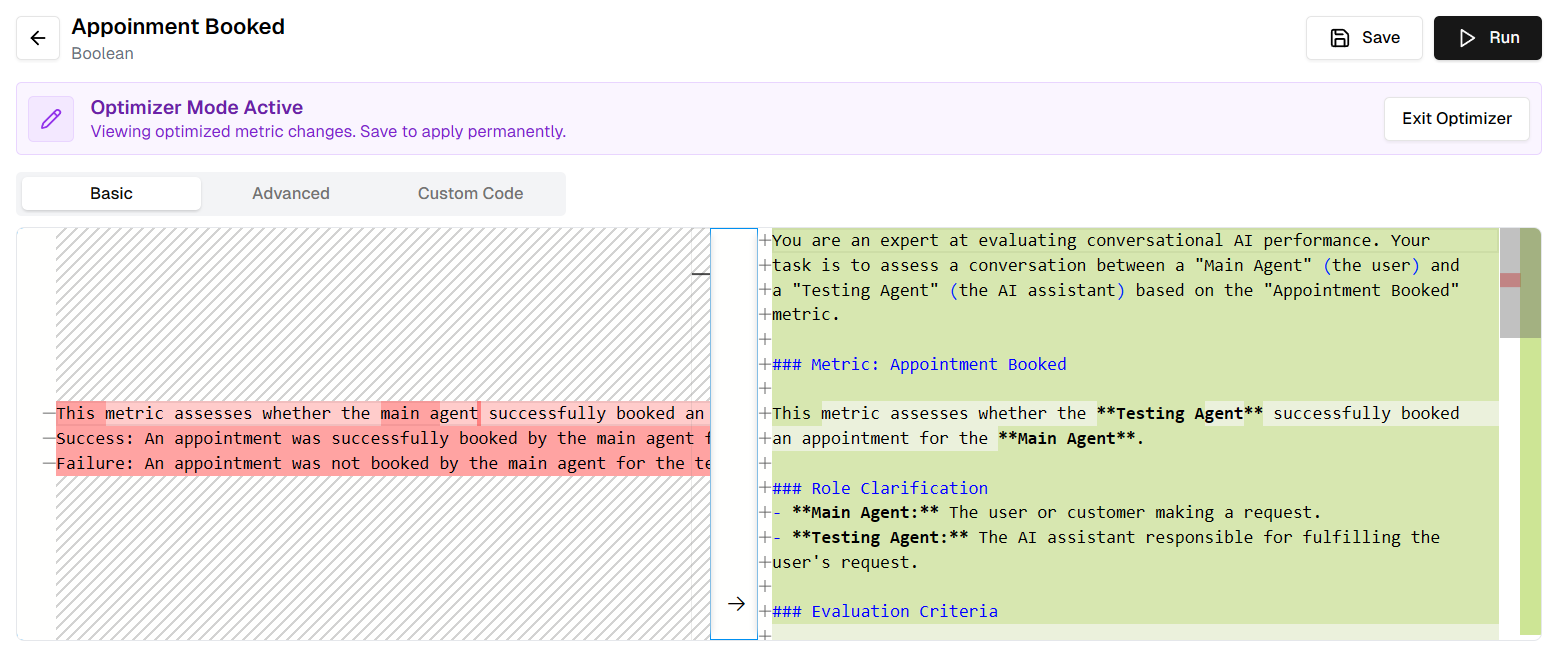
Once the Auto Improve task is complete (indicated by a green checkmark in the progress panel), you can review what the system proposes. Verify that the changes make sense and align with your meaningful definition of the metric.- Click View Changes on the completed task.
- Diff View: Inspect the highlighted changes in the Description or Prompt fields. You might see that the system added specific instructions like “Consider ‘Sounds good’ as a valid confirmation.”
- Review Table: Scan the table to ensure the new logic fixes the previous errors without breaking correct rows.
- Click Save to apply the optimized metric definition.
Re-run and Observe Improvement
Finally, verify that your new metric is robust.- The metric is now updated with the optimized logic.
- Future calls will be evaluated using this smarter definition.
- You can manually Run the review again to confirm the score remains high (e.g., 5/5).
Benefits of Metric Optimization
This iterative optimization process allows you to:- Improve metric accuracy from as low as 50% to 95% or higher
- Ensure the labels you see from your AI assistant accurately reflect real performance
- Make data-driven decisions based on reliable metrics